

6 Ways to Use a Cheesecloth Wrap in Newborn Photography
(with photo examples + studio-ready tips)
Cheesecloth wraps are one of the most versatile props in newborn photography — soft, lightweight, and easy to style in multiple ways.
If you already shoot newborn regularly, you know the point isn’t more props. It’s having a few pieces that give you multiple looks with minimal decisions. Cheesecloth does that exceptionally well: it drapes naturally, photographs matte, and gives you that organic finish that makes a setup feel intentional.
Below are six practical, repeatable ways to use cheesecloth wraps in real sessions — each with a photo example, so you can recreate the look quickly and keep your workflow smooth.
1. As a top wrap
This is the most-used method for a reason: cheesecloth as the main wrap creates that soft, crinkled texture photographers (and parents) love — natural, organic, and timeless on camera.
Because the fabric drapes and creates natural texture, the setup looks finished without overstyling. The wrap doesn’t need to be perfect — the texture is what makes it look intentional.
Popular ways to finish the wrap:
- Classic full wrap (clean + timeless)
- Twist wrap (a soft twist across the front for extra dimension)
- “Flower” finish (folded/rolled edge styled into a small rosette-like detail)
- Cross wrap (gentle X shape across the chest for a more styled look)
- Knot detail (a small knot off to the side — simple, but very effective)
- Bow finish (especially beautiful with cheesecloth — airy and soft)
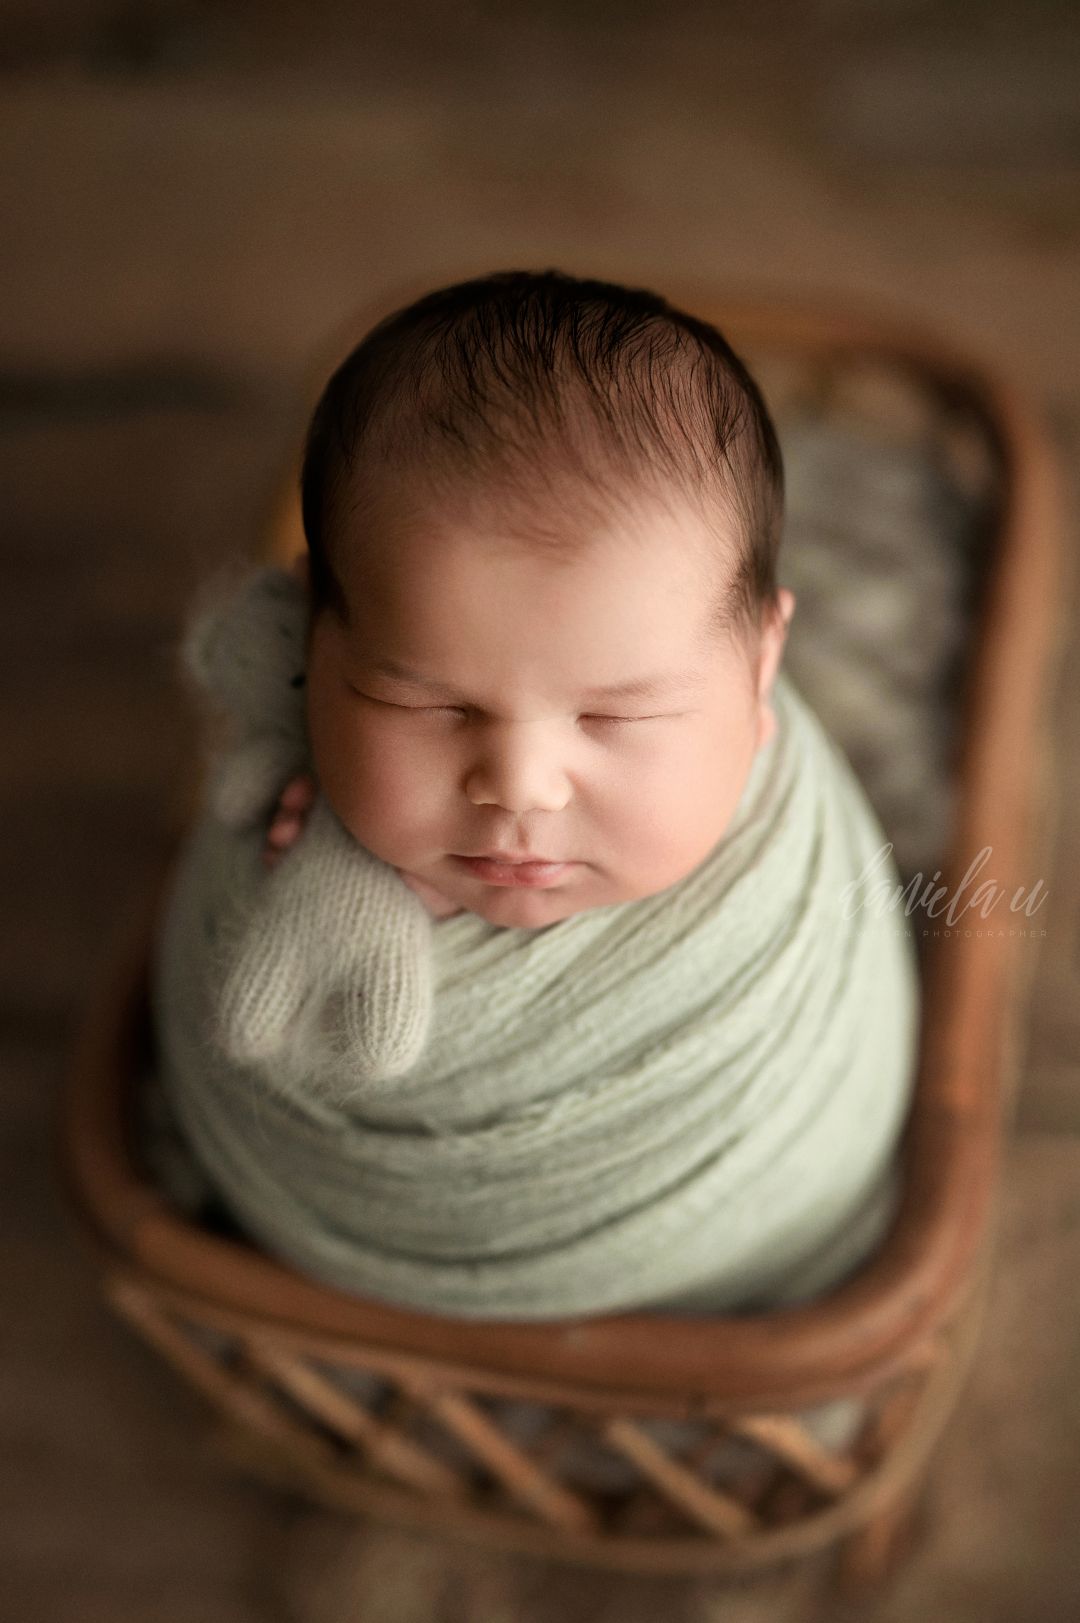
Image by Daniela Ursache with our cheesecloth wrap (colour fog)
Quick tip:
If you love using cheesecloth as the top wrap, you’ll get the cleanest, most consistent results with a simple base underneath. That’s why we created a 2-wrap Basic Set with photographer and mentor Daniela Ursache — one shorter wrap (approx. 30×150 cm) and one longer (approx. 30×250 cm). They’re balanced (not slippery, not overly stretchy) and come in timeless neutrals, so cheesecloth stays the hero while your wrap holds and styles smoothly.
2. As a posing layer on the beanbag
This one is simple, but powerful: place the cheesecloth under the baby, then let a small edge peek out naturally.
That little visible layer adds softness and dimension, and it subtly leads the viewer’s eye back to the baby. You get variety in the gallery without changing the whole setup — just one extra layer under the pose.
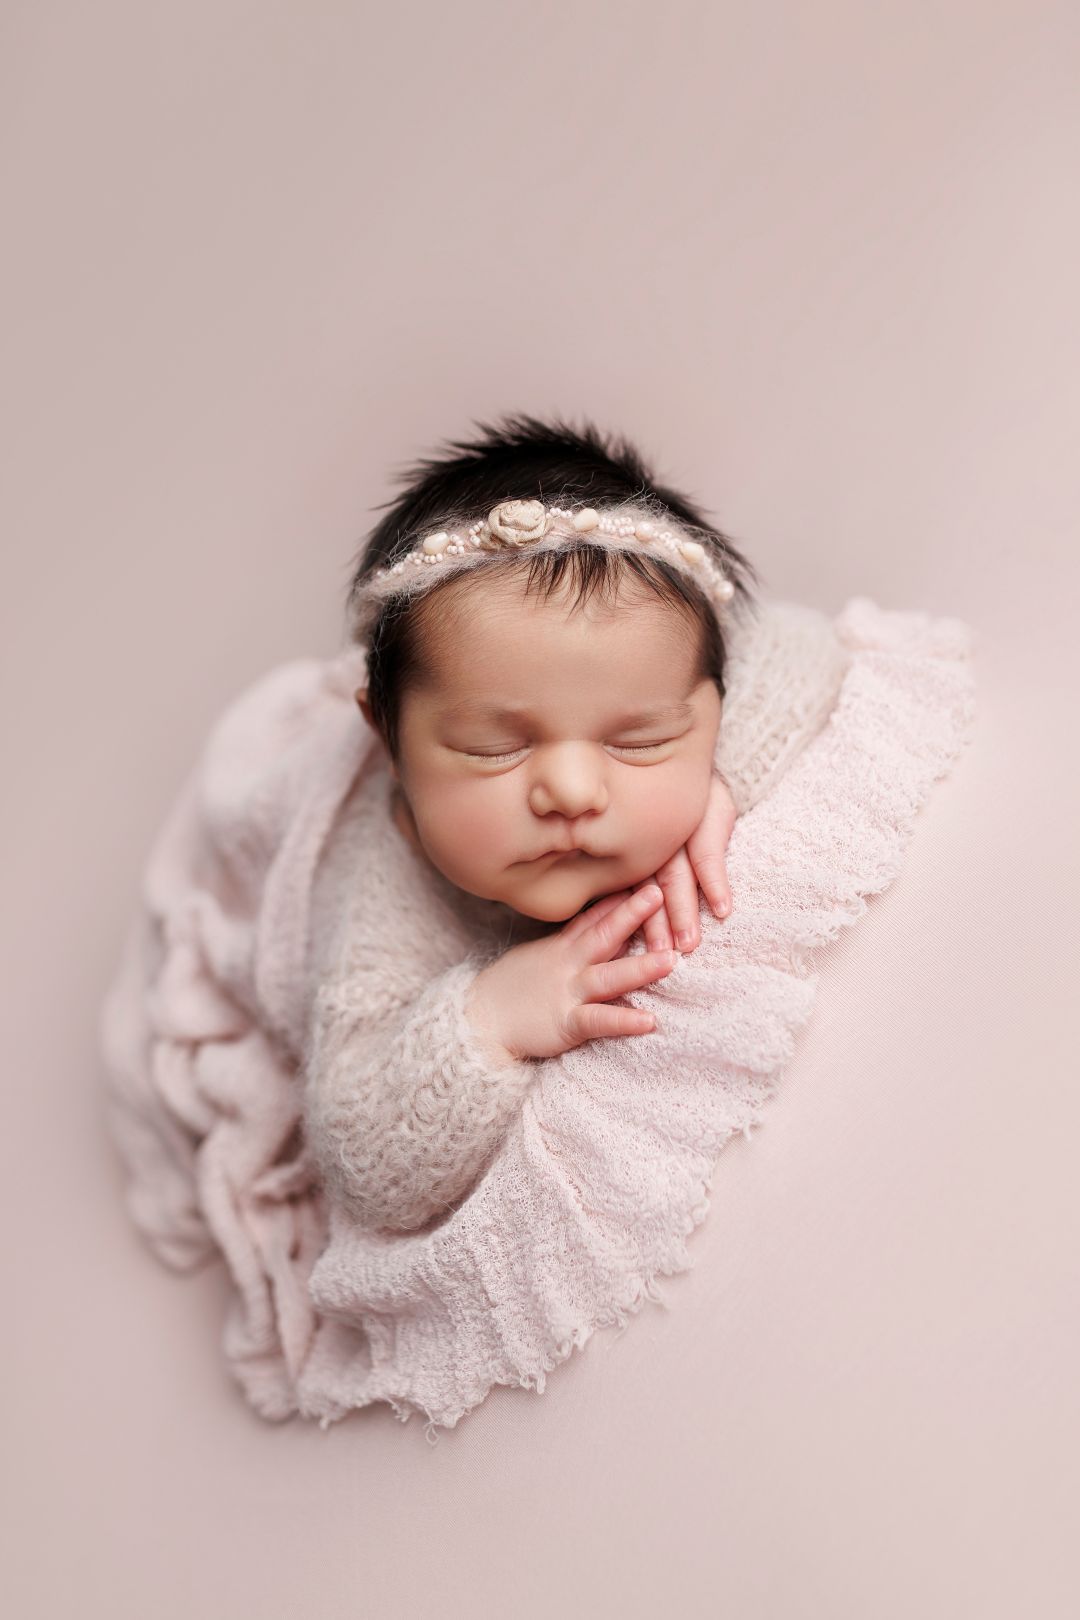
Image by Olga Tsybenko (olga_milkystudio) with our cheesecloth wrap (colour fog)
3. As a decorative drape (behind or around baby)
Cheesecloth is perfect when you want something that looks “styled” but takes seconds: lay it behind the baby or around the pose as a decorative element on the beanbag.
You’re not wrapping here — you’re using it as a framing tool: soft folds, gentle lines, calm tone. It creates depth and makes the frame feel complete, especially in wider shots.
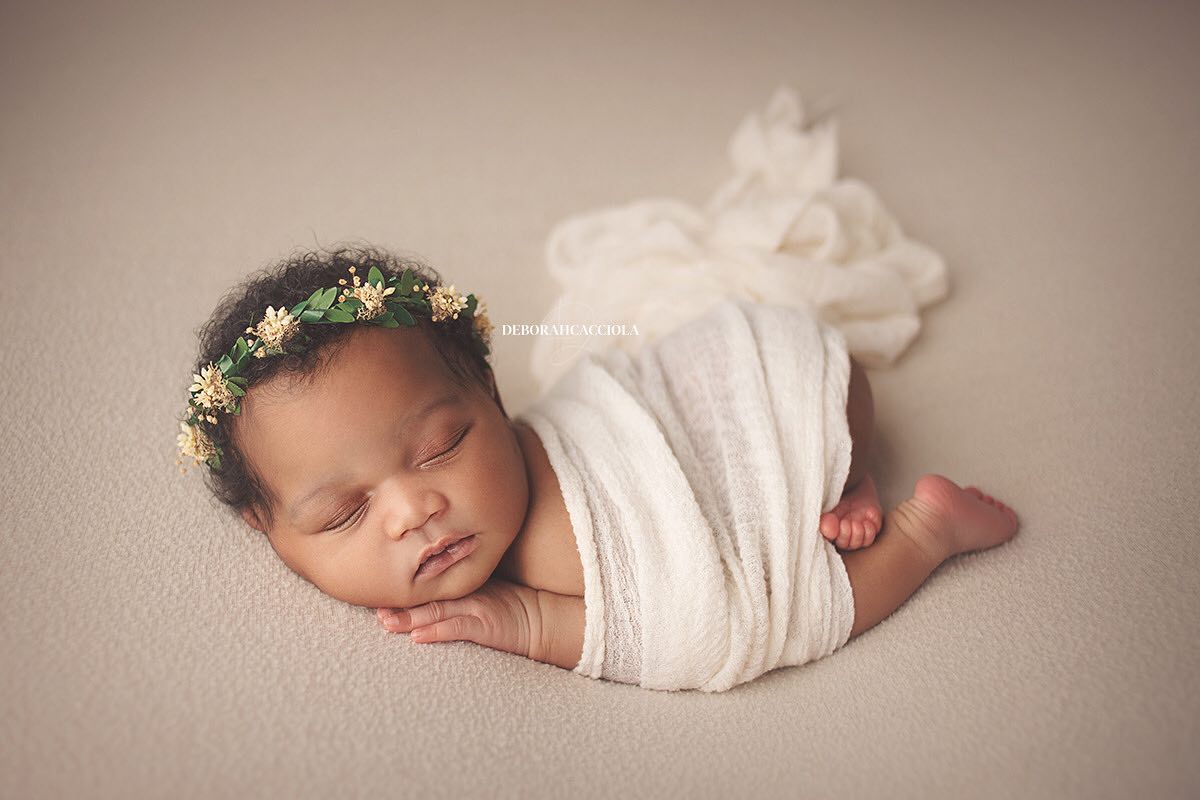
Image by Deborah Cacciola with our cheesecloth wrap (colour natural)
4. As a bowl or bucket layer (soft edges + clean folds)
For prop setups, cheesecloth is one of the quickest ways to soften the rim, hide transitions, and create gentle folds near hands/feet.
Use it as a top layer over your filler/liner. It gives that “finished” look without bulk, and it helps unify tones when you’re mixing textures (flokati, knit layers, baskets, etc.).

Image by Milulu Fotografia with our cheesecloth wrap (colour grappe)
5. As a cover piece (airy veil or full cozy cover)
Cheesecloth is one of the few props that can do both:
- one layer = lightly sheer, airy, delicate (you still see the baby softly through it)
- more layers = warmer, cozier, more coverage (closer to a blanket feel)
This is a beautiful way to add softness without switching outfits or re-wrapping. It also photographs very gently in close-ups because the texture diffuses the frame.
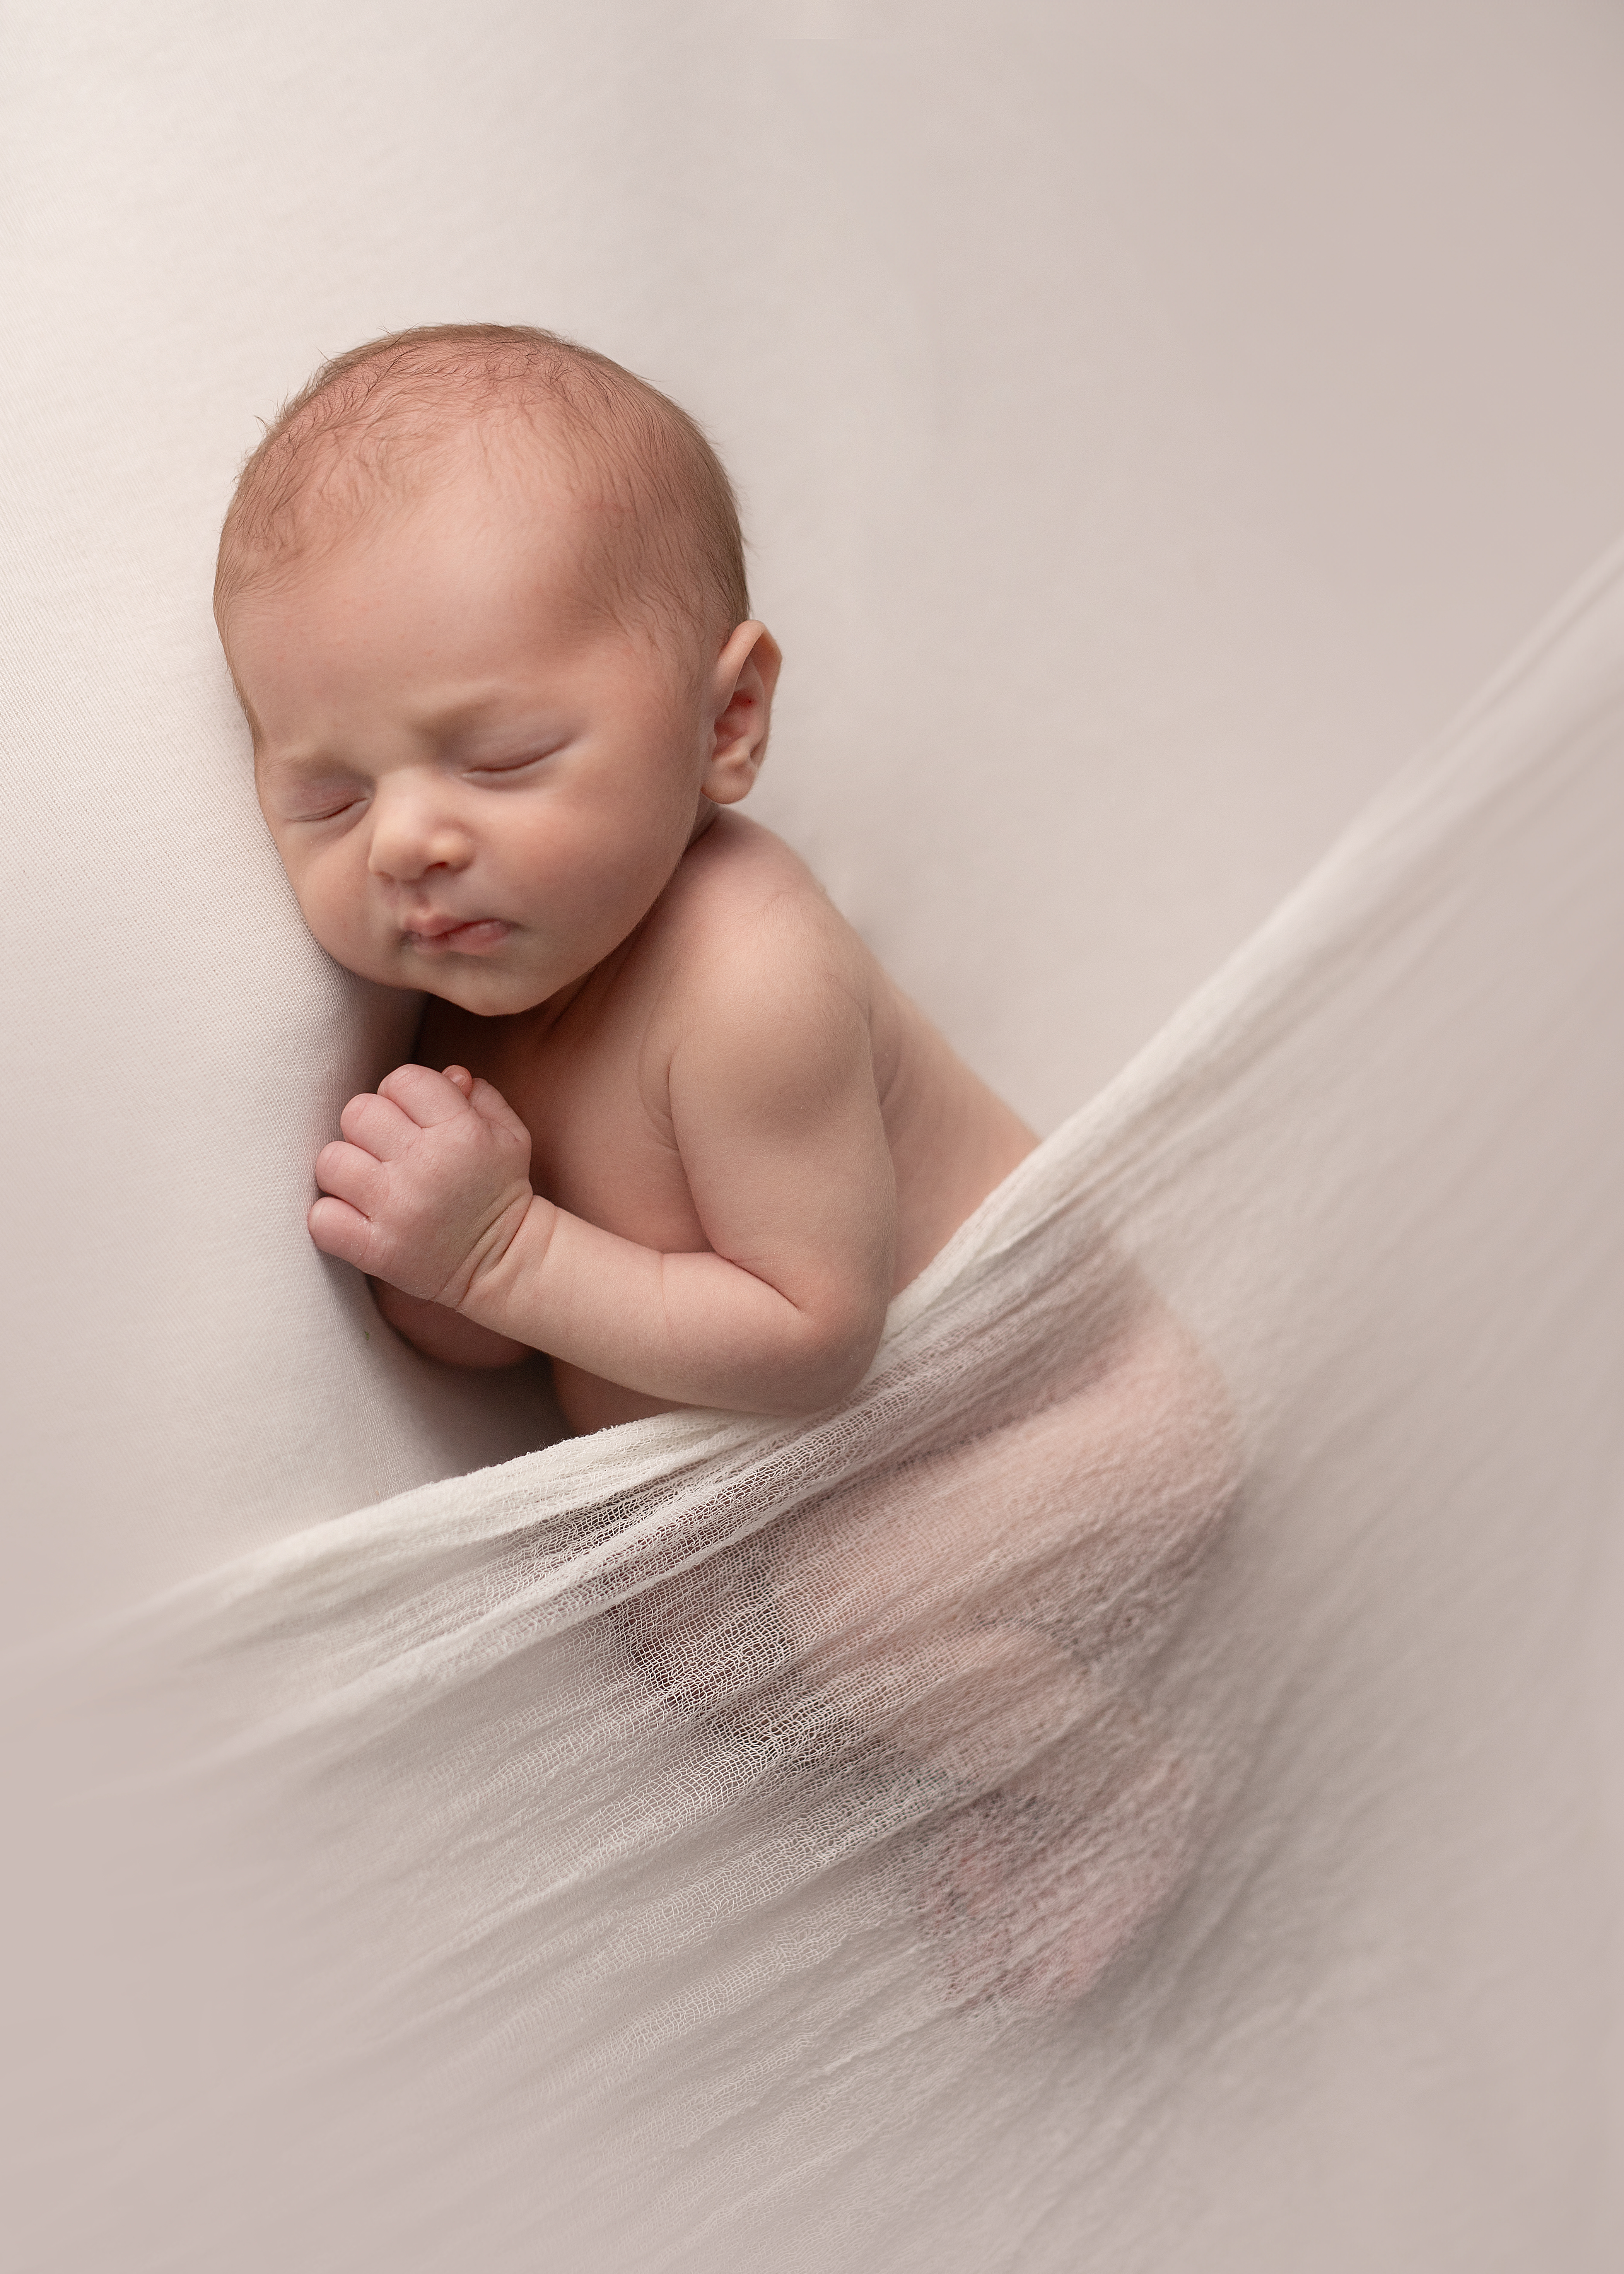
Image by @aparatka_fotografia with our gauze wrap (colour natural)
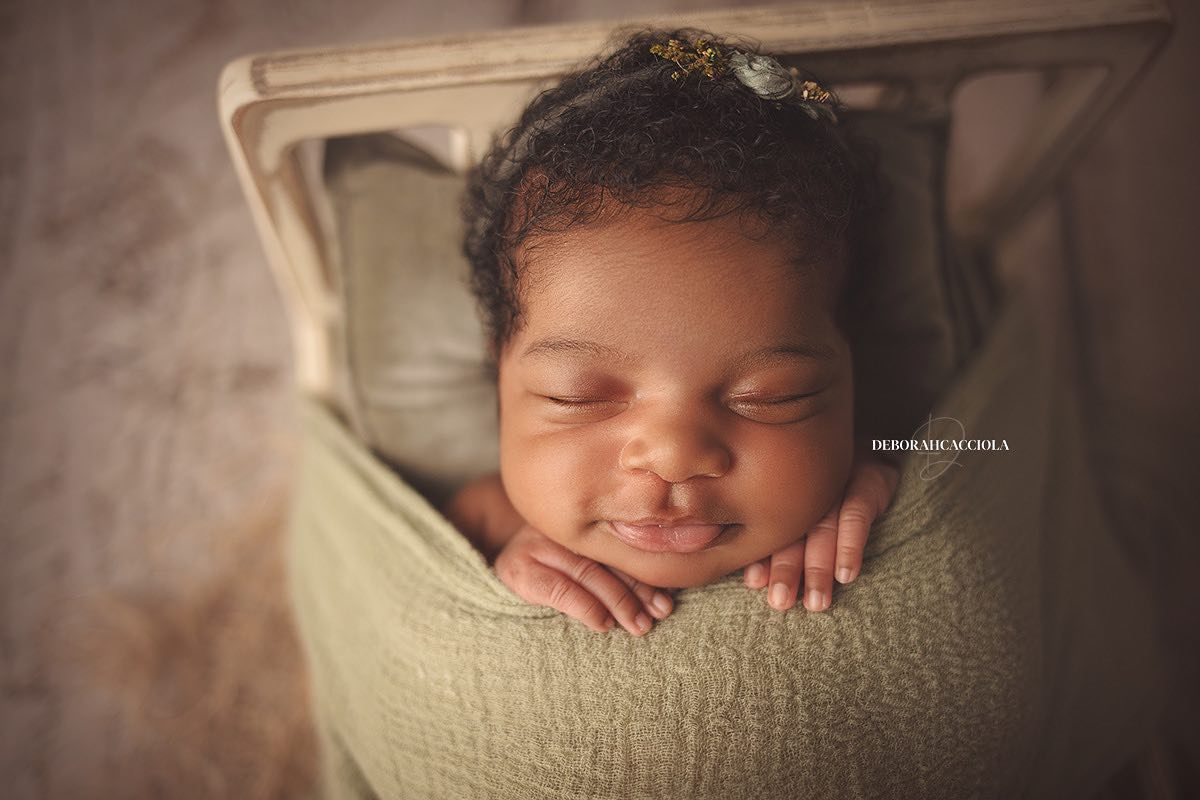
Image by Deborah Cacciola with our cheesecloth wrap (colour pistachio)
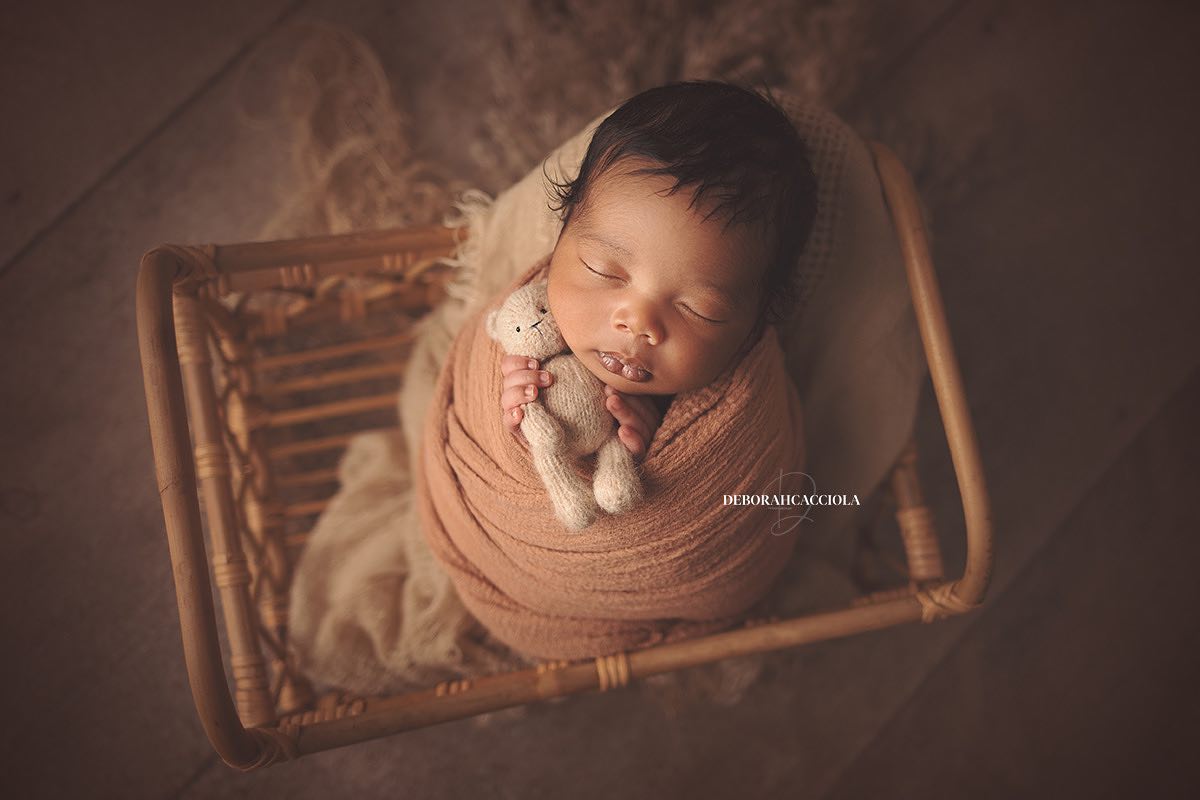
6. As a stork wrap (the iconic pouch look)
The stork wrap is one of the most eye-catching ways to use cheesecloth. It creates a soft “pouch” look with beautiful folds and a calm, minimal styling feel — perfect when you want a strong hero frame without adding more props.
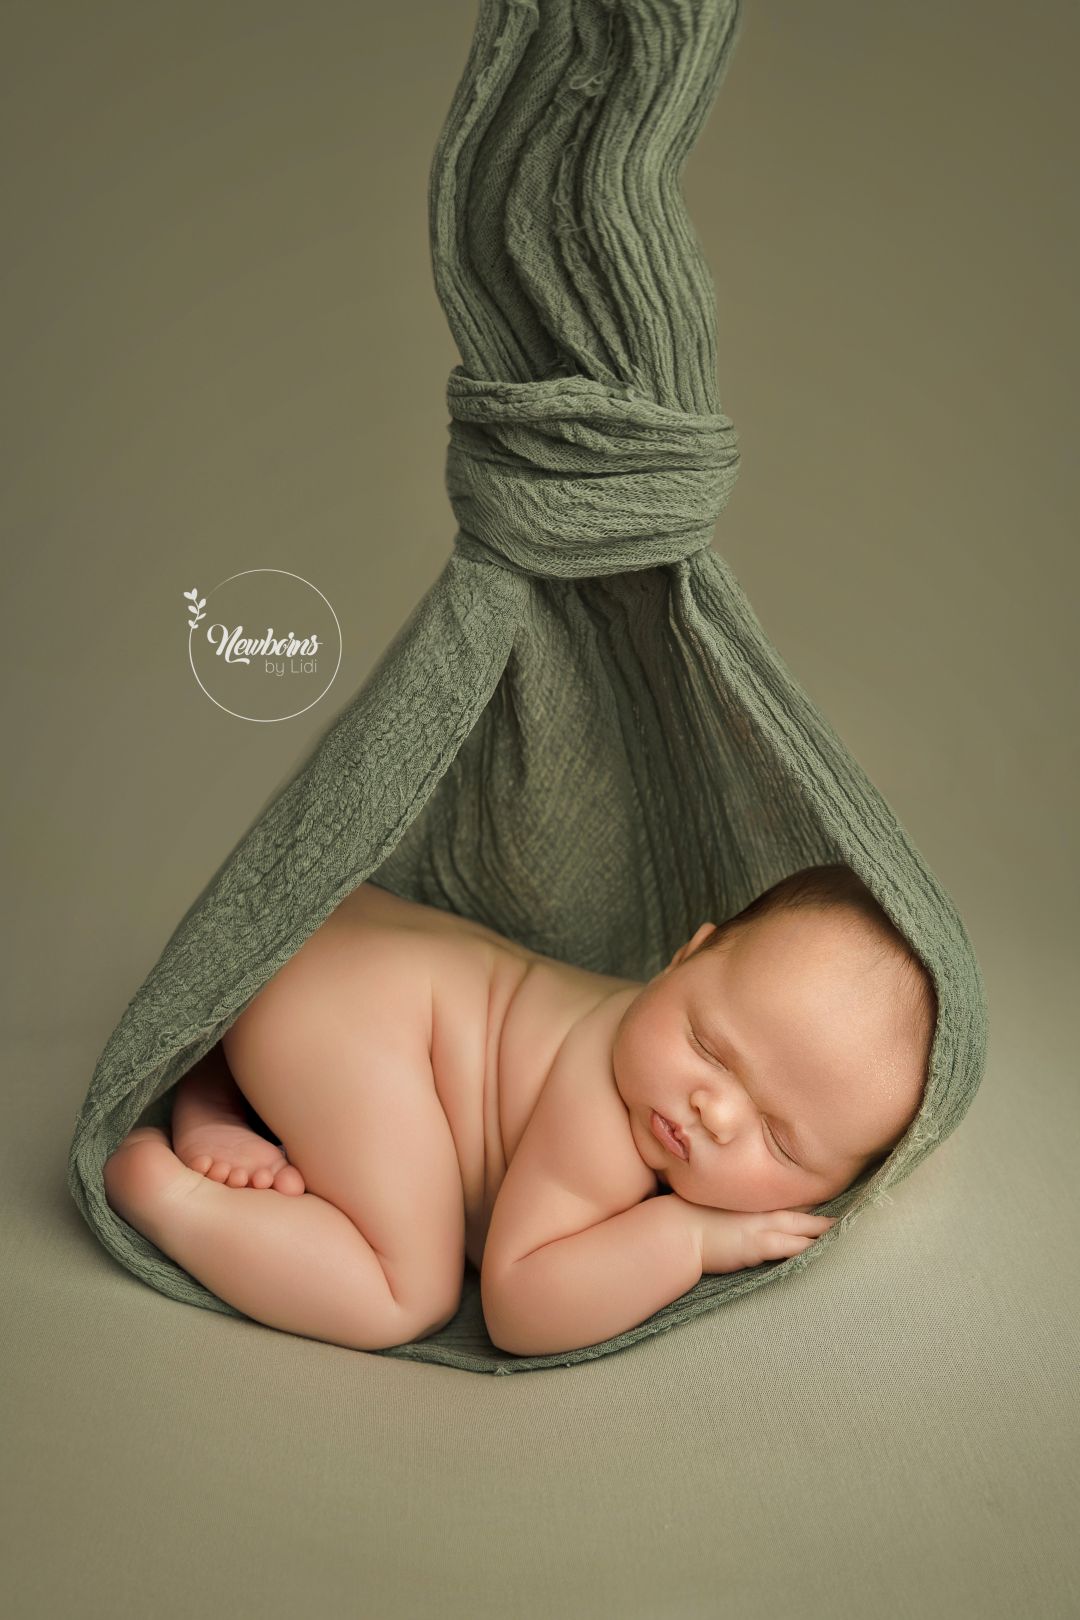
Image by Lidi Lima-Conlon @newbornsbylidi with our cheesecloth wrap (colour eucalyptus)
How to Create Cohesive Setups with Cheesecloth Wraps
Cheesecloth wraps work best when they are part of a cohesive styling plan.
Rather than treating them as a single decorative piece, it’s better to think of them as part of the setup — and even part of the final gallery your client will receive.
When chosen carefully and combined with matching backdrops, wraps, and accessories, cheesecloth adds softness, texture, and variation without breaking the overall harmony of the session.
👉 Learn how to match newborn photography props and create more cohesive galleries
Stock up
Cheesecloth wraps are one of those pieces you don’t buy “once” — you use them on repeat. Having a few in your core tones means you can move through sessions faster, keep your palette cohesive, and always have a clean wrap ready for the next setup.
That’s why we offer Bundle & Save options — a simple way to build a useful mini-collection without overpaying:
- 3 wraps — save up to €10
- 5 wraps — save up to €20
- 7 wraps — save up to €35
Why Cheesecloth Wraps Work So Well in Newborn Photography
Cheesecloth wraps are a studio favourite because they are:
- lightweight and easy to style
- naturally textured, so they don’t need perfect folds
- soft and gentle for newborn skin
- versatile enough to create multiple looks with minimal changes
That’s what makes them so useful in real sessions — one simple piece, many styling options.
Explore Cheesecloth Wraps & Bundles — designed for easy, versatile styling
Want to keep your wraps looking beautiful for longer? Read our newborn props sizing & care guide
Bonus: Cheesecloth makes the prettiest bow (simple, effective accent)
Cheesecloth is also gorgeous tied into a soft bow — perfect as a styling accent in-frame, around a prop, or near the baby (without being distracting).
We have a quick tutorial here:
FAQ — How to use Cheesecloth Wraps in Newborn Photography
If I want to use cheesecloth as a wrap, what should I use underneath?
If you use cheesecloth as the top wrap, it’s best to place a simple stretch wrap underneath first. You can use the basic stretch wraps you already work with every day, or choose our Basic Wrap Set created with newborn photographer and mentor Daniela Ursache — designed to hold the baby securely while letting cheesecloth stay soft, airy, and beautifully styled on top.
Which cheesecloth wrap length should I choose?
That depends on how you want to use it.
- 1–2 m works well for layering, draping, and softer decorative styling
- 3 m is the best choice for full wrapping and swaddling
👉 If you want the most versatile option, go for 3 m. If you mainly use cheesecloth as a styling layer or top detail, 1–2 m may be all you need.
Can you help me match hats or headbands with cheesecloth wraps?
Yes — that’s exactly what we love to help with. If you want your setup to feel calm, cohesive, and easy to style, we can help you choose matching headbands, hats, or other soft details that work beautifully with your cheesecloth wrap.